Flowered cupcake

Flowered cupcake

Monday, November 5, 2012

Happy Hauntings

Oh boy, oh boy. It's been a while since Mrs. Cake Jobs has tended to her bloggy blog. For all of you who hang on to my every word and sit on the edge of your seat waiting for the day you hear the announcement of a new blog entry (both of you) I have an explanation, and I think it may be pretty valid... So just a little update on the Cake Jobs household before getting to the good stuff.

My little cupcake has been attending preschool and since my last post I have started working at said preschool. I work part time, just weekday mornings, but somehow this additional role in my life has completely zapped me of all energy and motivation. This is not good because I still have a house to clean, a kid to care for, a husband to raise and all of my various odd jobs I do to earn a buck or two.
I am coming off of a weekend that involved a lot of cake making all in one day and working on a cold that is uncharacteristically hanging around for day 3. Don't get me wrong, I'm not complaining, just keying you all in to my life at the moment...

And now, for a subject that I LOVE LOVE LOVE: HALLOWEEN!

Yes, I am a lover of Halloween. I am not a pagan, I do not worship the dark arts. I am, in fact a Christian in the UCC. I see quite often comments from folks who believe that Halloween was created by evil doers and pagans and all who celebrate it are going to hell. If you believe this that is your choice, but I can tell you this may not be the post for you and I would not be offended if you navigated away from this blog and waited until Christmas to rejoin us. That being said, I was so excited for Halloween this year. I got on Pinterest just before the holiday last year and have been waiting somewhat patiently to try lots of witchy, haunty, batty things, especially in the food category.


Family Trick or Treat


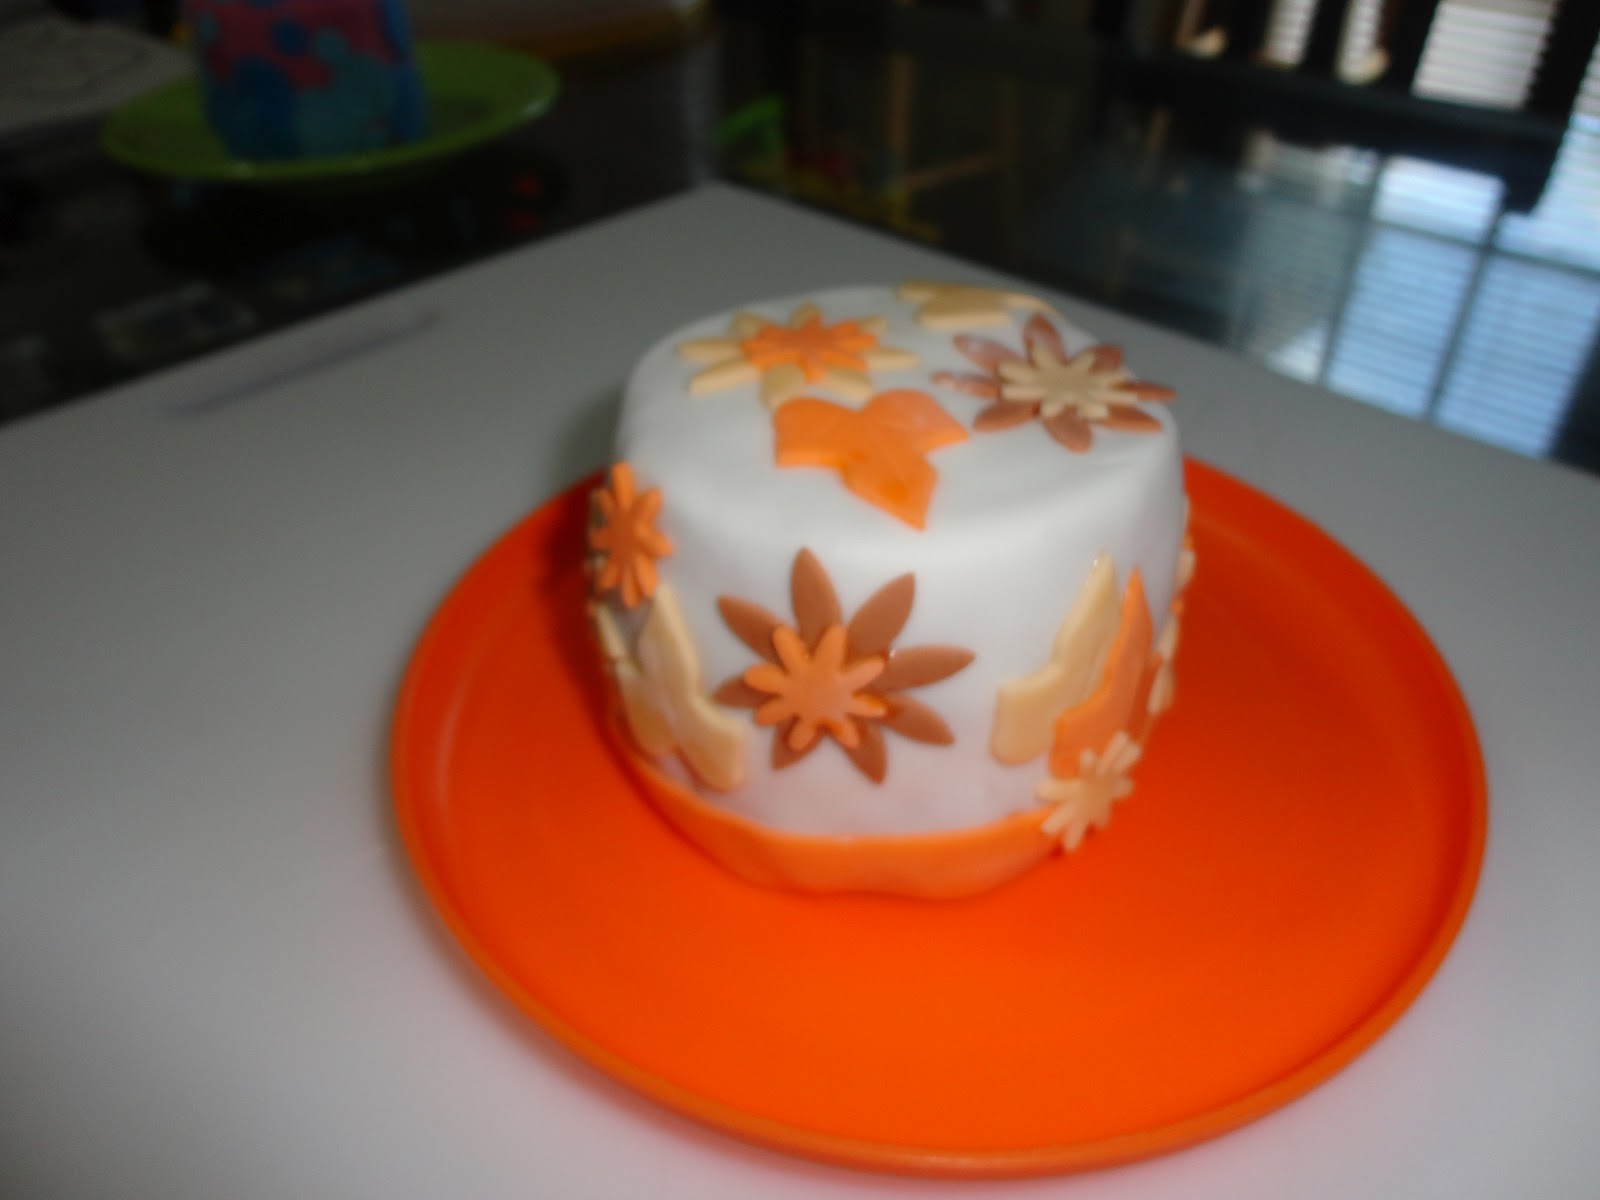
Oh I had some lofty plans. I was going to be that lady with the cool treat bags full of bat cookies and witch hats. I was going to bake cakes and cupcakes aplenty. A mummy in a pound cake coffin. Vampire bite cuppies. Green pudding Frankenstein heads. Well, needless to say, that did not happen. I did, however get to a few haunting little treats so I shall now share them. I don't really have any tutorial goodness to go with because it's all fairly self explanatory. I didn't even tweak any cake mixes. Just baked up that box of numminess and frosted up a storm.


So this is Frankie. No, this is not from the mind of me. It is from the mind of Betty Crocker. I made it for a monthly game night that I have with some pals. This was the October night so it was a great opportunity for some spooky fun!


Again, I lucked into 'having' to make some spooky treats when school had a Halloween party. I took the opportunity to make several kinds of cuppies. This way I got to try out four different treatie treats at once! So going clockwise starting top left (for those of you who can't figure out pictures): We have a monster, ghost, pumpkin (which oddly enough looks like a Charlie Brown inspired pumpkin) and a spider in his webby web.


And the kids seemed to get a kick out of them. Or a sugar high. Whatever.


Last, but not least, pumpkin spice cake. Now this one I can instruct on , just a little bit... But if you've EVER gone on Pinterest and been like "Cake" you have likely seen this little 'trick'. (Haha, trick. Like trick or treat. See what I did there?)  Anyway, here's a quick how-to on this thing:
 
 
Take a box of spice cake mix. Open it and dump it into a bowl. Take a can of pumpkin. A 15oz one, the small one. Open it and dump it in with the cake mix. I also add just a smidge (like a tablespoon) of vegetable or canola oil too. Mix it up and bake it according to the box instructions. I used a bundt pan this time around. Isn't it pretty? You will have to smooth the batter a bit with a rubber spatula because it doesn't spread itself well.
 
To ice it I mixed 1/2 cup powdered sugar with 1 tbsp of milk. and added a little cinnamon and a few drops of vanilla. Drizzled it on and bam! Pumpkiney cakey goodness. I will do  almost anything for a good pumpkin flavored treat!
 
So there you have it. Tasty Halloween Goodness! And a promise to post more soon! Feel free to post comments and tell me what you did for Halloween or fall activities this year. And if you're a pumpkin enthusiast tell me what your favorite pumpkin dish is!


Saturday, September 8, 2012

Baby Cakes


It's been a while since I was hired for a Cake Job. Part of me is like, "Damn, I need some extra cash!" and part of me is like, "I really need the practice!" but yet another part of me spends WAY too much time on Pinterest and I'm all "I wanna make those awesome cakes too!" But having no Jobs, I have no way to do fun pretty cakes. I suppose I could randomly make the 5 tiered superhero cake just 'on accounta becausa' or I could try to construct the Death Star out of cake and fondant for the sole purpose of taking pictures and letting my nearest and dearest shower me with compliments and 'Oh My Goshes', but who's paying for that? Let's face it, that's a lot of cake and a lot of fondant (as well as a lot of money, time and effort) just to put up a blog post that only 3 people are going to read! And no one is eating that much cake, even my delicious from the box goodness!

But I did get a bit itchy to try being cutesy with no particular theme in mind and I love a chance to play with the fondant. I decided the easiest way to do this would be to figure out how to make some mini cakes and play around with them. Why not, right? So what had happened was this:

I couldn't decide how I would actually bake the cakes. I thought about making a whole cake mix, doing a square one and cutting to make several layers, using leftover batter for cuppies I could freeze for later use, but this seemed way ridiculous. I thought about doing cupcakes and cutting off the tops, but I wasn't a fan of that one. So instead I used a recipe for 2 cupcakes but I doubled it. Now, the recipe itself calls for 1 egg white (it's white cake) and a whole teaspoon of vanilla (WOWZA) but reviews all said it was a bit eggy, which I have always thought too much vanilla could cause that problem flavor wise. So I doubled the recipe, but made 1 egg white into one whole egg, not two. I also kept it just under a teaspoon on the vanilla but included almost a teaspoon of strawberry extract for a strawberry vanilla flavor. Worth it!


 And for the vessels I went with ramekins. I wasn't 100% sure this would work out, mainly because I have never baked cake in a glass or ceramic pan before. But I went for it anyway.


I put the four ramekins on a cookie sheet and divided the batter among them all.


And they came out looking like this:


They were a little tough but that is likely due to my playing with the ingredients. This is why I like sticking to box mix... Anywell, I froze them for a bit, sliced off the tops and made two stacks. I covered them in a crumb coat of regular frosting, rolled out some fondant and played with the cookie cutters. Simple as that. I have a bunch of fondant stored up in various colors so there was little effort to put forward here. The only thing I ran into that I didn't like was trying to smooth down the sides of the fondant on these round little cakes. If someone out there can tutor me on that I would love you forever!


For this one I had been thinking of all those pretty layer cakes I see with the polka dots on them, but as I was rolling out fondant and cutting out circles all I could see was bubbles. So this is Bubble Pop.


Being a BIG lover of fall I decided to do something fall-ey (it is too a word, I just made it up). With no actual leaf cookie cutters in my arsenal (hint hint Christmas prezzies!) this is what I ended up with...


And there you have it. Baby Cakes!


Sunday, August 19, 2012

S'mores Fortress


Yes folks, I call this the s'mores fortress. It really couldn't be anything else. 

Here's the story (of a lovely lady...): My son's birthday is in February. I hate it. Mine is in January so I have grown up knowing how much winter birthdays just suck. We can't do outdoor stuff and our house is not all that big, so I am stuck paying for a venue that will inevitably get snowed out and be a total waste that leaves my son with very few guests to play with and awkward exchanges between the parents (because the ones that show don't actually know each other). What I really want to do for a party is have a cookout, give the kids balls, Frisbees and various water weaponry and let them go nuts outside. Maybe lay out butcher paper and a bunch of art supplies. While the parents police the kids and sip adult beverages. Ahh, fun times...

Enter the Half Birthday Party! We tossed around this idea last year but never did it, so this year we went for it. We had a water balloon war party for Shaunie. We served hot dogs made it BYOB and no presents were exchanged. Just fun. The party was a day after National S'mores Day and I had been craving all things marshmallow lately so I figured what better at a cookout? S'mores cake!


And they all went nuts!

I looked up several variations on the s'mores cake and pretty much compiled my research based on my favorite. The one thing I found odd in all the cakes I looked up was that they all used yellow cake. What? It's s'mores, guys! Where's the chocolate love? So here's the rundown of what I did:

1. Whipped up a chocolate boxed cake mix and baked it in my 9x13 pan. Really this would work in layers too, but I wasn't getting too fancy, I just wanted some dang s'mores!

2. Crushed 1 package of graham crackers in a processor and added margarine. How much you ask? Well, I have no idea. I put some in a pot and melted it then added it to the crumbs. It was just enough to moisten the crumbs and make them pressable. Then I spread them on the cake board and pressed them in what I estimated to be the right size. You can use more if you want more graham crackerey goodness!


3. I placed the cake on top of the crust. Then came the frosting. Oh the friggin frosting. I used a recipe I found online. Somehow it came out REALLY runny. So runny I couldn't thicken it even a little. I was going to add more powdered sugar but it was already so sweet and the marshmallow flavor was already fading as it was so that was out of the question. I tweaked things a bit and ended up with a passable icing, but I still wasn't really happy with it. The recipe I ended up with is posted at the end of this, though honestly I'm not sure I'm in love with the idea of recommending it...

Anyway, I poured the icing over the cake and stuck graham crackers and chocolate bars to the sides once it dribbled down a bit, this actually helped it to not drip as much... Then I put a few chocolate bar pieces on top of the cake.


4. Not done yet. I got out some large marshmallows. Ate one. Then I took out a handful, cut them in half and arranged them on a parchment paper-lined cookie sheet. I popped them in the oven on broil. ***Now this part is really important*** a few minutes is all it takes to toast these guys and still have them a little fluffy. So once they look done leave them in a minute or two longer. Take them out and let them cool a minute. Now you eat these. They are YUMMY. Now do that again but cook them the right amount of time. Pull them up however you need to and toss them on the cake as you like. Add a few more chocolate pieces too.

If you feel the need to add more sweetness (If you can take it) Go ahead and dribble some Hershey's syrup on it. Better yet make your own. Keep extra crackers on hand to stick on each plate.

And yes, it was as good as it looked!

The icing I made:
1 7oz jar marshmallow cream
1 tsp vanilla extract
1 cup powdered sugar
half & half or milk

Cream together the marshmallow and vanilla. Add sugar a little at a time. If it is thick add a little half & half. And I mean a little. Just enough, Then mix it up to see if you need more. Get it to the consistency you like and enjoy!


Monday, August 6, 2012

Wedding Mints (Not Cakes)


Okay, you caught me! This is not a cake. Nor was it a job. Not really, anyway. So here's how this happened:

(I know you're just on the edge of your seat!!!)

One of the ladies at church (Yup, church again!) was trying to get me a job doing cupcakes for her neighbor's wedding. Last week she informed me that cupcakes had already been ordered, but the bride-to-be was wondering if I make wedding mints. It went like this:

Jane: "Do you make wedding mints?"
Me: "I'll let you know next week."

So next week was here and I had hopped on to Pinterest (Oh, we love Pinterest!). I have found that most wedding butter mint recipes are fairly similar and it's actually pretty easy to do. Now, as you all have come to realize I am not used to the whole 'taking pictures of every single step' thing. I did remember to snap a few though, whether you like it or not!

First you take the butter and cream cheese and melt 'em. (Whoa, I can hear the Peanut Butter and Jelly song in my head...). This step was not pictured.  Then turn off the burner and you add a small amount of the powdered sugar (not pictured either) stirring it in. I also added peppermint extract, food coloring and vanilla extract at this point. After stirring in the rest of the sugar it looked like this blob down here:


Now, the recipe I used said to pipe out the mints with a pastry bag, but it wasn't working for me since I use the disposables.


It felt like the bag was going to burst so I went for plan B: Rolling it into doughy snakes or into sheets and cutting it with a knife.


And they came out like:


And closer they were like:


They weren't the prettiest of things but they did come out really tasty. I decided I want to add a bit more peppermint next time I make them. I will likely cut them with a pizza cutter next time or get a candy mold depending on what customers prefer. They are stored in the fridge or freezer since they are made with cream cheese and butter.

This batch was cut in half since I was just trying it out. The recipe came from Here (Sweet and Saucy). I bagged them up and was off to church yesterday to give out samples. If I can figure out how to edit posts I've already made I will add photos of any 'Mint Jobs' I do!


Leave comments and questions or any other feedback you have for me!


Saturday, July 28, 2012

Supernatural Blues

This weekend I made a birthday cake for a friend. She is a big fan of the show Supernatural, so her hubby and I decided a Supernatural cake was in order. I looked online for a few design ideas and I found one I couldn't pass up. I found it Here at Cake Central. This is how it came out:


If you followed the link you will notice that it is pretty much the same cake. My frosting was different, so it was piped on. I was a bit disappointed that the black frosting bled a bit (likely because of heat and humidity) so it all had a purple halo around it, but the birthday girl said she liked it so it worked.

I wanted to try something new and was hoping after seeing some pretty blue cakes on Pinterest I could find a way to do a blueberry cake. Turns out she loves blueberry so it was on. I wasn't impressed with any recipe I found so I decided to make it up.

Again, I used cake mix. I used a box of white cake mix (this one was generic). Instead of water I used blueberry liquid. I bought a can of blueberries (I would have gone with fresh but I had to shop ahead by two weeks). I liquefied about 2/3 of it in the blender and amazingly enough it gave me the exact amount of liquid.


After mixing it I was hoping for a bright blue or purple color but it was a little gray-ish.


After baking it up in 2 square pans I put the last blueberries from the can in between the layers (after squishing each one) with a little frosting.

The most time consuming part of this was cutting out the image.  I took the image and expanded it, which is a miracle considering my limited computer skills, and printed it off. Then I used an exacto knife to cut out all of the black parts just like a pumpkin stencil. I laid the stencil on the cake, which I had already frosted with the white base, and I traced around it all with a toothpick. From there it was simply filling in with the black frosting and adding a few accents like a border.

The catch phrase from the previous scenes in the show is "The Road So Far" so I decided it would be a great thing to include on the side.


It ended up tasting great. I kept telling my husband it tasted like a 'Mother f-ing muffin'.


Please feel free to post any questions or comments, especially if I forgot to include a step or any other vital info!

Monday, July 23, 2012

IOU Cupcakes

Last week I made a bunch of mini cupcakes for church (the post for these will come up later). You will see church come up a lot here if you hadn't already guessed. We like our cake. Anyway, I was trying out some new stuff and made a ton of mini cupcakes. One of the teens at church was upset that she missed out and we went back and forth a bit on Facebook before I informed her that I would make her her own cupcake, I figured it was a chance to try something else new.

I needed someone to hang out with my little guy for like 20 minutes tonight so I told her if she came over I would make said cupcake. So here's what I came up with:


Oreo cupcakes! Yes, I know I am not the first person to 'come up' with this idea, but it was a revelation to me. Though to be honest, these are really made with store brand cookies that taste just like the real thing.
Now, I won't always post procedures or recipes mostly because I don't have any or I'm likely using someone else's idea or a box mix and I'm not comfortable posting someone else's work so as not to take someone's credit. I also have a lot of posts coming down the line about previous cakes and don't have frame by frame shots of them. But since this was tonight I remembered to take a few shots that no one will find interesting.

I used a recipe for 2 chocolate cupcakes I found at the Manhattan Craft Room. I doubled her recipe so that hubby and I could eat some too.


In the original recipe she tops the batter with chocolate chips. I chose to put some crumbled cookie pieces at the bottom of the cupcakes instead.


And 20 minutes later...


Then came the frosting. I used the frosting recipe from the same site, but instead of cocoa powder I added cookies I had crushed in the food processor. It was a bit thick but I thinned it out with some corn syrup after refrigerating and before piping it on. Then it looked like:


And I added a cookie and it was all like:


These were friggin' tasty, I must say!

Saturday, July 21, 2012

We're All In The Same Boat

The first time I 'went public' with cakes I make was for a celebration at my church.  We had merged two churches and after a year of worship together we were having a party to celebrate our new name and that our merge was finally complete. I know, you're not here for church politics so here's the cake.
I got the idea for this from an old Girl Scout Tee-shirt I used to have. It had three girls, different nationalities all in a boat that resembled the Earth and said "We're all in the same boat". I thought this would be a perfect phrase for our celebration. I did the cake because I had made the decision to start decorating cakes for money and needed a jumping off point (let's call it practice). I also wanted to use fondant and thought I shouldn't charge the first time I did this since I didn't know what the outcome would be.  So I suggested they have cake and I volunteered to make it for free. I used a boxed fondant (from Wilton) for the white base and decorated the rest with regular frosting.

A few lessons I learned here:

1. If you use fondant for cake, don't make a cake that calls for a VERY large sheet of it. It came out okay, but it was really hard to knead a piece that big which made it even more difficult to roll out. If the cake needs to feed lots of people make layers of cake instead of a large sheet.

2. This is a side by side cake. It is two sheet cakes side by side. Though each side was the same brand they ended up baking to different sizes. This was also before I had my Bake Even Strips so they were rounded on top even after trimming them.

3. I need to learn better icing penmanship!

I recreated a smaller version of the cake for the one year anniversary.


This one was not done with fondant, it was half the size and just a little different, but it received about the same amount of praise.

Tuesday, July 17, 2012

Introduction

I'm new to the world of blogging so I thought I'd make my first entry an introduction to myself. My name is Jenny and I am a Stay-at-home-Mom. I have a 3 1/2 year old son, Shaun and my husband is Bobby. I enjoy being at home for the most part, though I do get a little stressed from time to time. Oh, hell, let's be honest, I get really stressed all the time! I have found that being able to make a little money on the side as well as keeping myself busy and creative are good outlets for stress.

I enjoy watching TV, reading, writing and cooking. I spend a great deal of time in the kitchen both creating recipes and following others. I attend church weekly and enjoy a monthly game night with a small group of friends. We currently live in Lima, Ohio (Yes, as in the town from Glee) which is a far cry from our hometown of Chicago.

You'll get to know more about me through my postings, I'm sure. But I know you came for the cake. I have been watching my mom make cake since I was a kid and I was always amazed by her ability (still am, if I'm being quite honest). She would always make the cake for our birthdays and big Scouting occasions but would also make cakes for various folks that needed them and would get paid to do so.  When we moved here I had made a cake for Bobby's birthday and then realized I may actually be able to learn to make some pretty acceptable cakes. Turns out I was right. I started off doing a few cakes here and there for church and a few friends and informed a few people I was going to start charging for cakes and eventually my 'business' began to grow. I put business in quotes because I do not officially have a business just yet. I'm still considered small potatoes.

So here are a few things that everyone should know, especially if you are interested in purchasing a cake:

1. I charge less than most bakeries. One reason I started doing this is that I couldn't believe how expensive it is to get a cake for a special occasion. The last thing any of us need is to spend $75 on a little quarter sheet cake for a child's birthday.

2.  I use boxed cake mix. 
I'll let the scandalous gasps die down...
Any time now...
Okay, yes, I use boxed mix to make my cake. Every time I shamefully admit this to someone I am told that anyone can make a cake mix, but it comes out differently for each person. Mine is always great. Now, that's not to say I would never make a cake from scratch. I've done it. It's just easier this way. If a client were to order a cake from scratch then that's what they would get. I will also add to a mix to change up the flavor which has turned out very well in the past.

3.  I will make  almost any cake that is ordered. I put a lot of love into my work. Any cake I make is me learning by doing. Every now and then I will turn down an order, but only if it is something I don't know I can handle. This has only happened twice, but both of those times I said no, then found a good excuse to make a practice version of what they wanted so I could do it the next time I needed too.

Most of my entries here will be about cake - both posting pictures of my creations and a few stories about the process of making them. For a while I will mostly post about past projects until something new comes up. I may even throw in some posts about pies, breads or other creations I am particularly proud of. If there are any new recipes I try I will post them here as well.

Feel free to comment or to contact me. To see more pictures of cakes please find me on Facebook! Happy Hump Day, all!!!